
Paper Mache is the word of the day! I love how you can make paper mache items look like weathered wood. I made the following two projects 6 years ago. It was my first Halloween of being married and I had no Halloween decorations to my name. I decided to make a lot of what I didn’t have. So here ya go:
Halloween Canisters

These are so fun to make. You will need the following items:
2 Paper Mache Cylinders (similar to what you see HERE)
2 Decorative Papers
Paint
Tulle
Wooden Balls (HERE)
ModPodge
Sandpaper
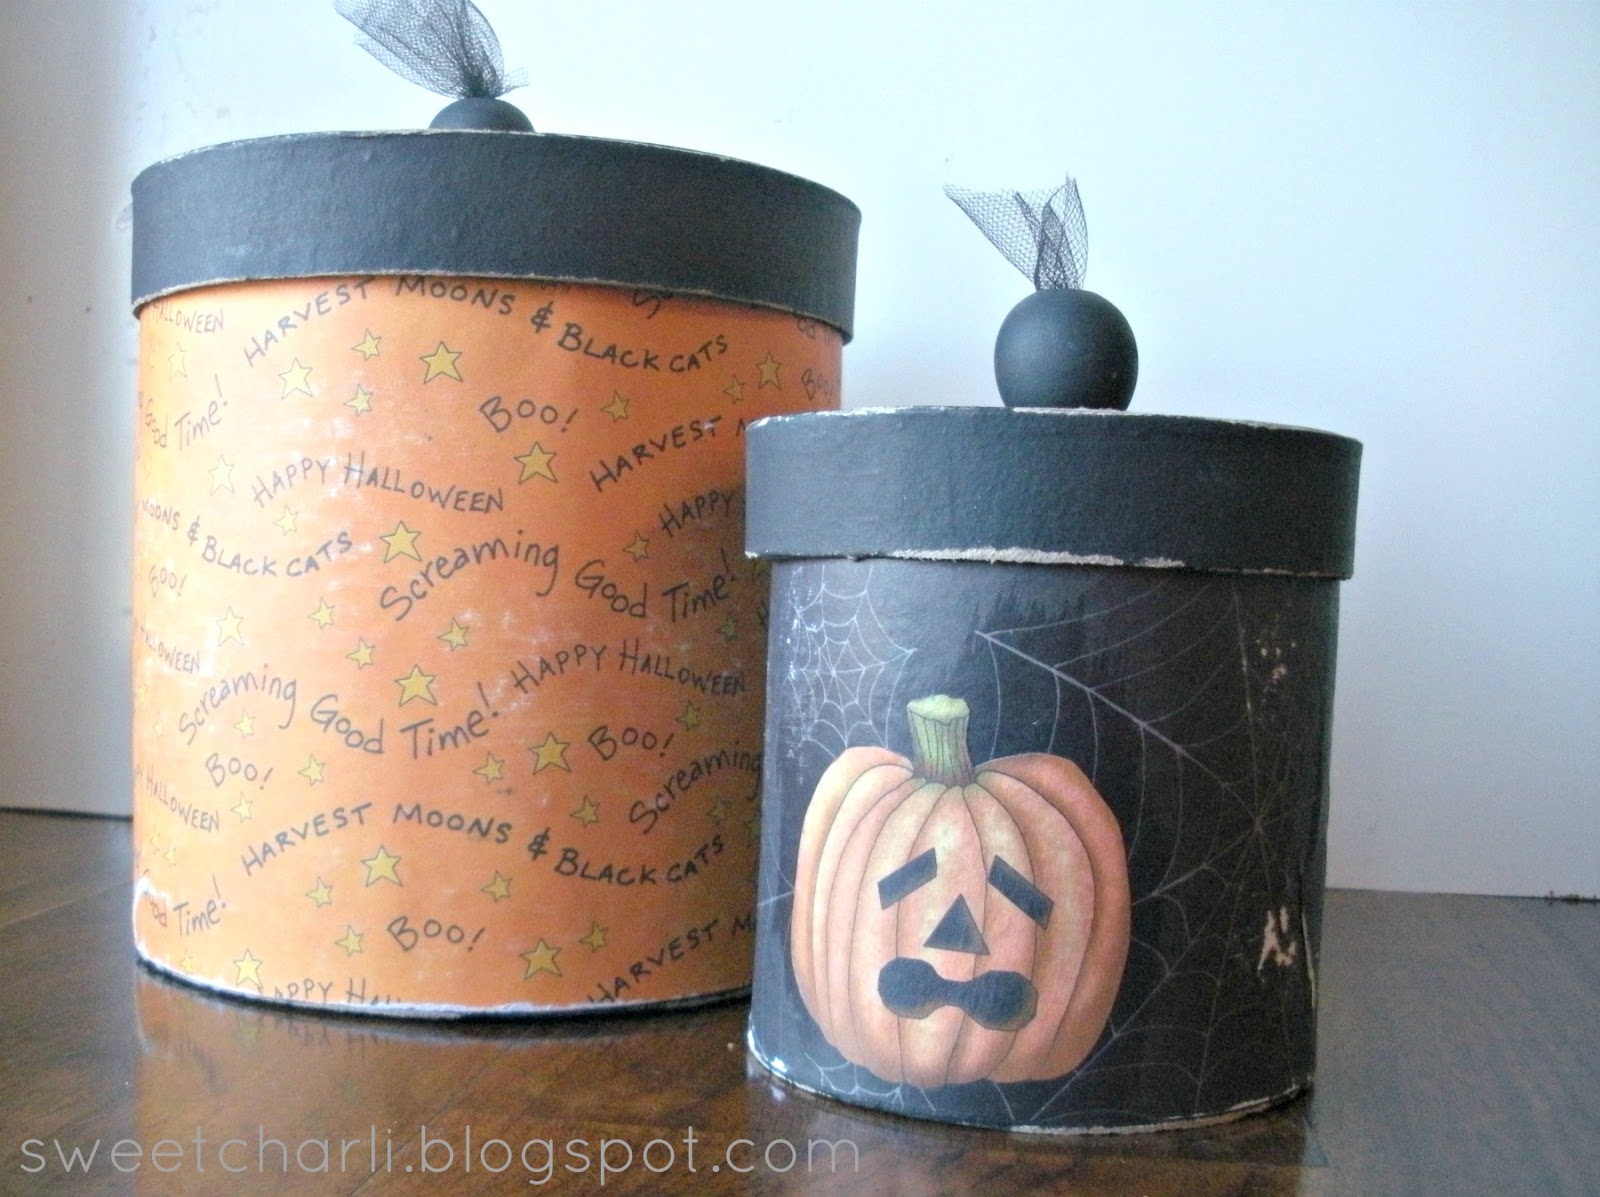
First, paint your cylinders. You don’t have to paint the whole thing, just the lids, and the bottoms. After the paint has dried, modpodge the paper to your cylinder. Let Dry. Sand all edges of your cylinder. Paint the balls and stick tulle through the tops then glue to the lid of your canister. That’s it!
I made these for Christmas that same year and put treats in them to give to my neighbors. They turned out so cute, I may have to make them again this year!
I made these for Christmas that same year and put treats in them to give to my neighbors. They turned out so cute, I may have to make them again this year!
Like I said, I made these years ago and there are so many new, darling, Halloween scrapbook papers now! I would love to do vintage Halloween paper canisters!
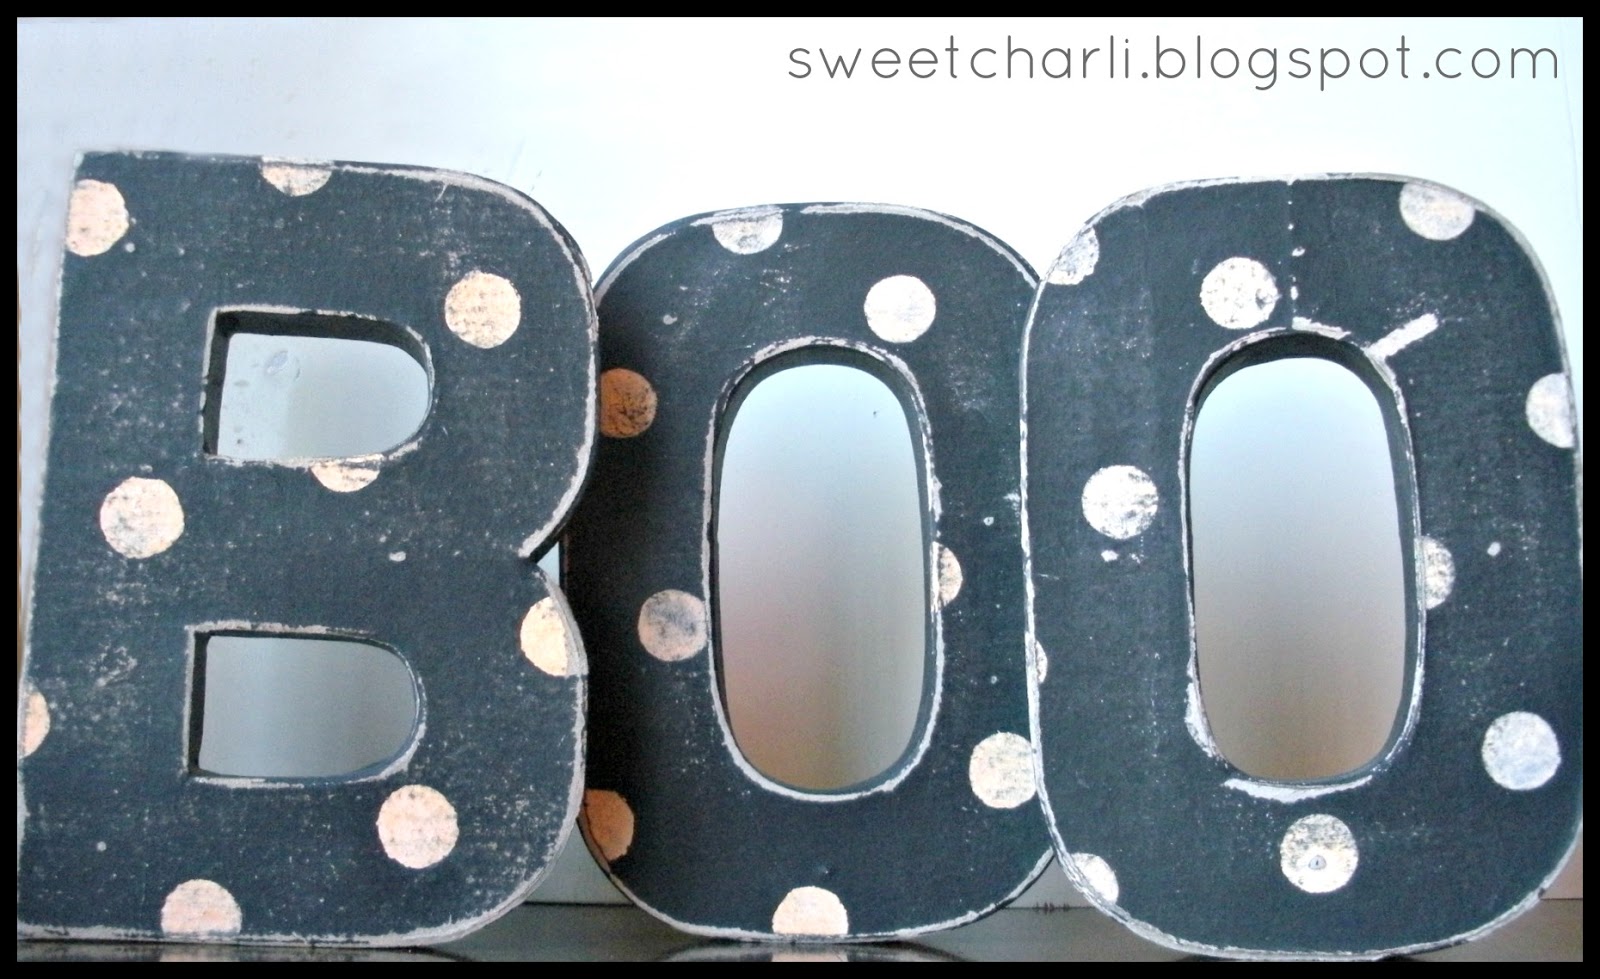
“Boo” Faux Wood Letters
Here is what you’ll need:
Paper Mache Letters (like HERE)
Black Paint
Orange Paint (I used like a peachy-orange)
Sandpaper
Circle Stencil (I made one on my computer on cardstock)
Sponge Brush
First, paint all your letters, front and back. Wait for it to dry. Next, you will put your stencil on the front of your letters and sponge the polka-dots on, one by one. Wait for everything to completely dry. Then you will lightly sand the edges, and also sand the front of the letters a bit to make them look like worn out wood! That’s all!

See these projects on my cafe shelves…


Linked up:


You have so many good ideas I’m so doing this for teachers for christmas